Introduction :
Android on virtual machine can be used for android application development or to replace the heavy emulators.
Installing Android on virtual box is very easy procedure. Follow the steps one by one and we will install Android on Virtual box with very easy steps.
Following are the few prerequisites which we should have ready before proceeding for the Android Installation.
Prerequisite 1 : Your machine should support Virtualization.
If you know well what’s virtualization is and your machine support it then it’s well and good, but if you don’t know or have any confusion how to enable it, then refer the following blog.
Enable Virtualization Intel VT / AMD-V ( Windows 10 )
Prerequisite 2 : You will need VirtualBox setup.
To run the android into VirtualBox we will need VirtualBox setup and installed on the machine. Following blog refers how to download and install the VirtualBox in detail. If you don’t have VirtualBox ready on your machine you can go through it and refer the Step1 and Step2 in the blog.
Download / Install ( Virtual Machine )
Prerequisite 3 : ISO file of Android x86
Visit the following URL : https://www.android-x86.org/download
or
Click the button.
Android-x86
Click Here
We have following two options to download – Select any option.

Download Android-x86 64-bit ISO file from any above option and save it on physical drive folder.
If you need Android for debugging then use Android-x86 32-bit ISO file.
Once all the prerequisites are completed we are ready for the android Installation on virtual box.
Step 1 : Launch your VirtualBox and Click on the New button to create new virtual machine.

Step 2 : Create Virtual Machine
- Click on New button will open a pop up window – Create Virtual Machine.
- Enter Name : Android
- Select Type : Linux
- Select Version : Linux 2.6 / 3.x / 4.x (64-bit)
- Click Next button.

Step 3 : Allocate memory size for the Virtual machine. Recommended memory is 2048 Gigabytes, but for smooth performance always allocate 3072 or 4096 Gigabytes. Once memory is allocated, click on the Next button.

Step 4 : Create Virtual disk for Virtual machine.
- Select the option – Create a virtual disk now.
- Hard disk file – Select the option – VirtualBox Disk Image (VDI). Click on the Next button.
- Storage on physical hard disk – Select Dynamically allocated.

Step 5 : Allocate the File location and harddisk size.
- Type a proper name for the Virtual hard disk. In this case we have named Android.
- Allocate a proper disk size. It can be minimum 10 Gigabytes.
Here I have kept 20 Gigabytes.
But as we have kept dynamically allocation if needed size will get resize as per requirement. - Once all above mention things are Done – Click on the Create button.

Step 6 : Add iSO file.
- Once Virtual machine Android is created – Right click and open the settings option and go to Side menu Storage.
- Click on the Controller:IDE – empty and browse to the ISO file.
- As ISO file is selected – Click on the OK button.

Step 7 : We are ready to install the Android. Select Android machine and Click on the Start button.

Step 8 : On Start we will get the following installation options.
Select the option – Installation – Install Android-x86 to harddisk and Click the Enter key.

Step 9 : Create Partition screen will be displayed.
- Select the – Create / Modify partitions.

- Click on the option Yes – Use GPT

- On the disk utility screen select the option – New

- Select the Entire disk space and create a single partition and name it.
- After creating the partition – select the option write and click enter.
- Enter yest for the prompt for write the partition table to disk.

- Hit the escape key on the keyboard after entering yes.
- Select partition to install Android screen will appear.
- Check the created partition sda2 and click on Ok button.

- Select the filesystem ext4 to format the sda2 and click Ok button.

- To install the boot loader GRUB select the option Yes.

Android will get installed and a screen will be displayed Android-x86 is being installed.
- Run Android-x86
- Reboot
Select any option and enter the Ok button.

- Android will boot up.

Android settings screen will appear.
- Select the language option and Click on Start.
- Choose the WiFi network. System will check for the updates.

- Sign in with Google account.

- Once credentials are verified – accept the Google services terms and condition and click on accept button.

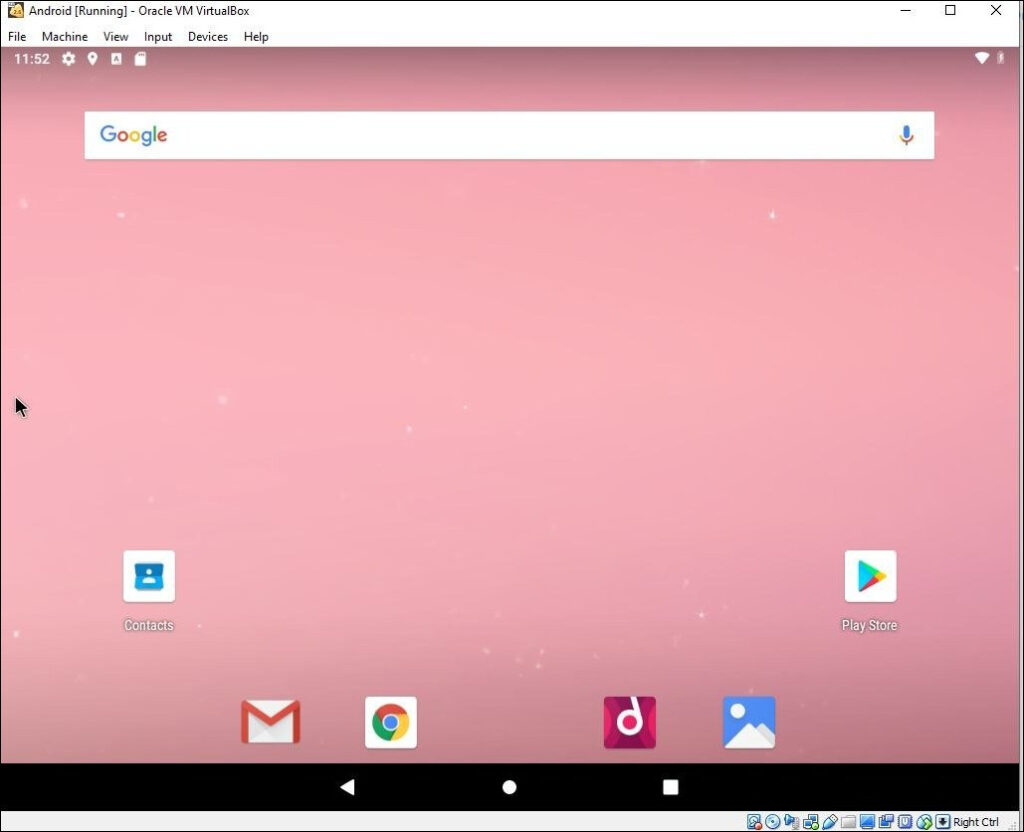
Once sign in is verified and setup is finish – Android home screen will be displayed.
Hope this information was helpful to you.
Feel free to comment if you face any issues or have any doubts.